Using Tailscale, Caddy, and a VPS to securely expose services on your network
Overview
This guide explains how to use a VPS, Tailscale, and Caddy to expose your services to the internet securely. You may want to do this if you are using an ISP like Starlink or T-Mobile as these do not provide you with a publicly routable IP. Or you may want to do this to protect your home ip from direct exposure to the internet.
Exposing services to the internet always introduces risk. Any service accessible from the internet becomes a potential target for attackers, making it crucial to carefully choose which services truly need to be exposed. Limit exposure by ensuring that only essential services are publicly accessible. Regularly update your systems and software to protect against known vulnerabilities. For accessing home network services, consider using a VPN or Tailscale (natively). These solutions provide secure, encrypted connections, reducing the risk of unauthorized access and helping to protect your network from potential threats
Prerequisites
- Tailscale: Sign up for a Tailscale account if you don’t already have one. It’s free!
- VPS with a public IP: Spin up a small VPS that includes a dedicated IP. I recommend at least 1 CPU and 1GB of RAM with Ubuntu ($5-$6/mo). There are a lot of good providers out there, here are a few that I use: Digital Ocean, Linode, RackNerd.
- Docker and Docker Compose: Docker and Docker Compose must be installed on your VPS. Refer to the Docker website for installation on your seleted OS.
- Self Hosted VM: This could be anything on your home network that you want to expose to the web. If you want to expose more than one service on your network, I highly recommend using the Tailscale subnet router feature.
I strongly recommend reading up on how to protect your VPS. Rackspace has good documentation about linux security best practices. At the very least you should disable root login and password authentication.
Steps
Install Tailscale
Login to your VPS using ssh and install Tailscale.
- Start Tailscale using the following command:
1
 tailscale up
You will be prompted to login to your tailscale account with a unique url. Paste this url into your browser to add the device to your tailnet.
- Repeat the previous 3 steps on your self hosted machine.
At this point you should have 2 devices in your tailnet, the VPS and your self hosted machine. 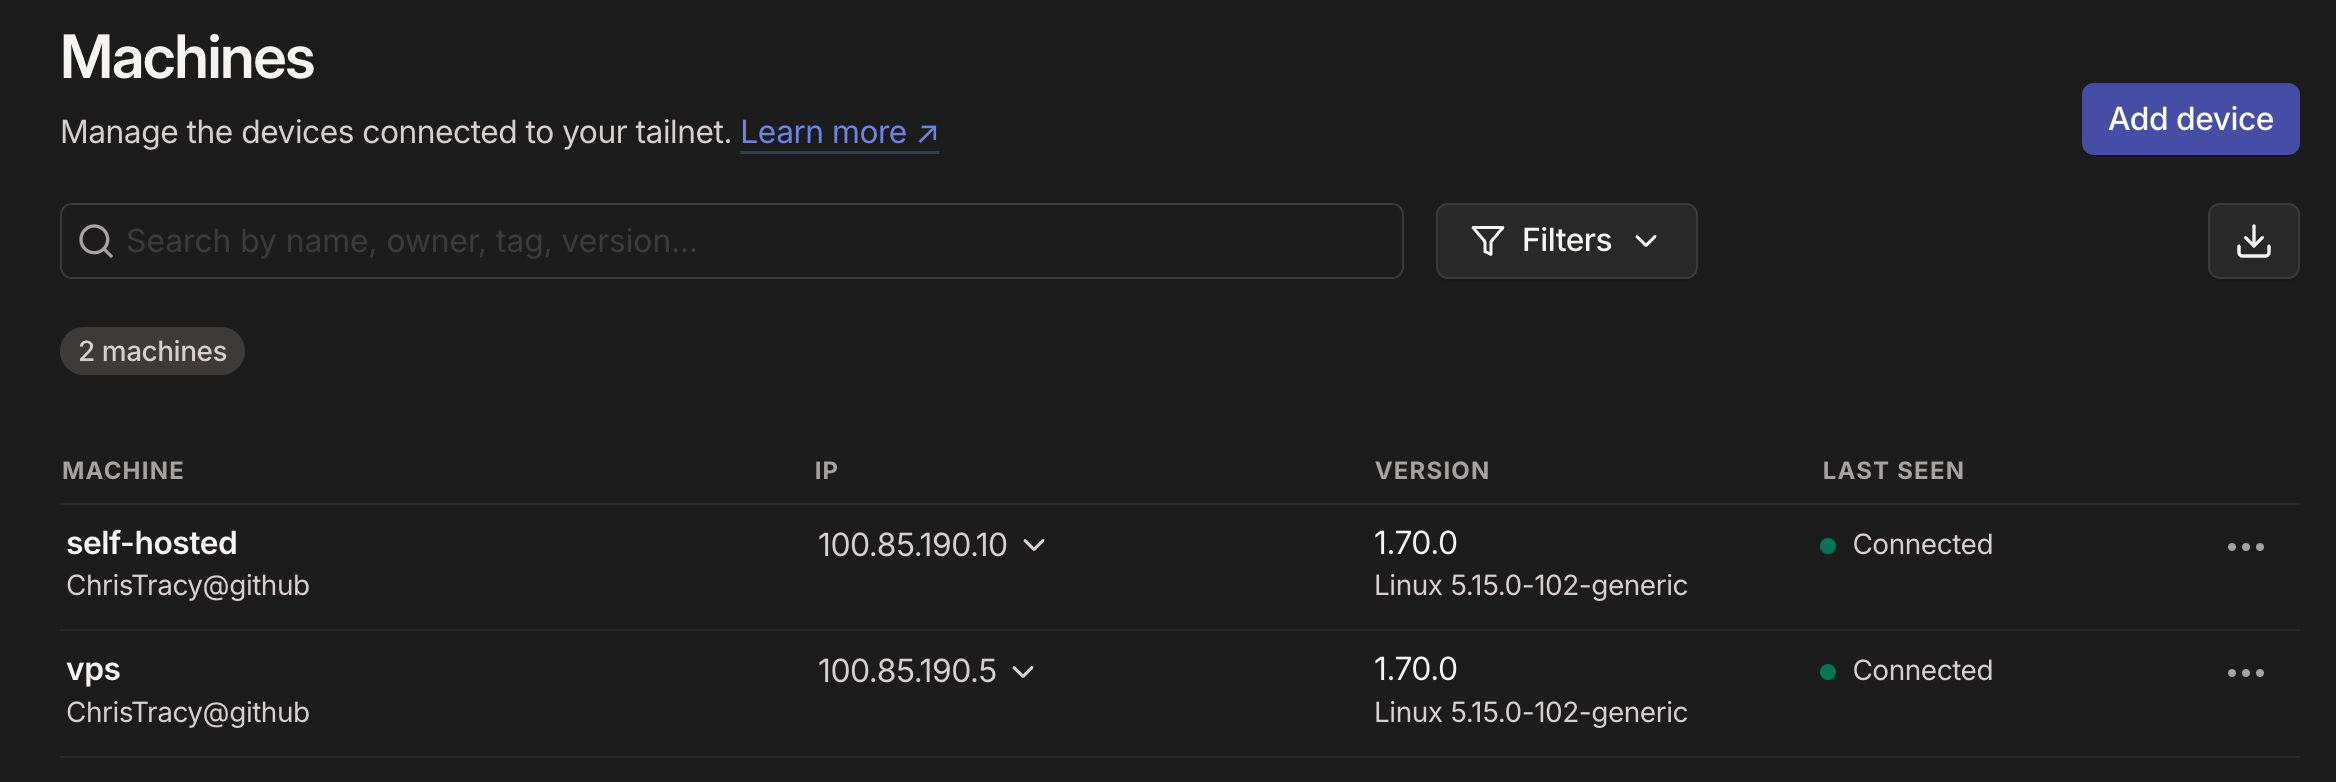
Advanced Configuration: If you are using a Tailscale subnet router to expose your services, you will need to run this on your self hosted machine:
tailscale up --advertise-routes=192.168.1.0/24where 192.168.1.0/24 is the CIDR range of your home network, don’t forget to enable IP forwarding and approve the route in the admin console. You will also need to run this on the VPS:tailscale up --accept-routes. This will add your network range to the VPS route table.
Point DNS to your VPS
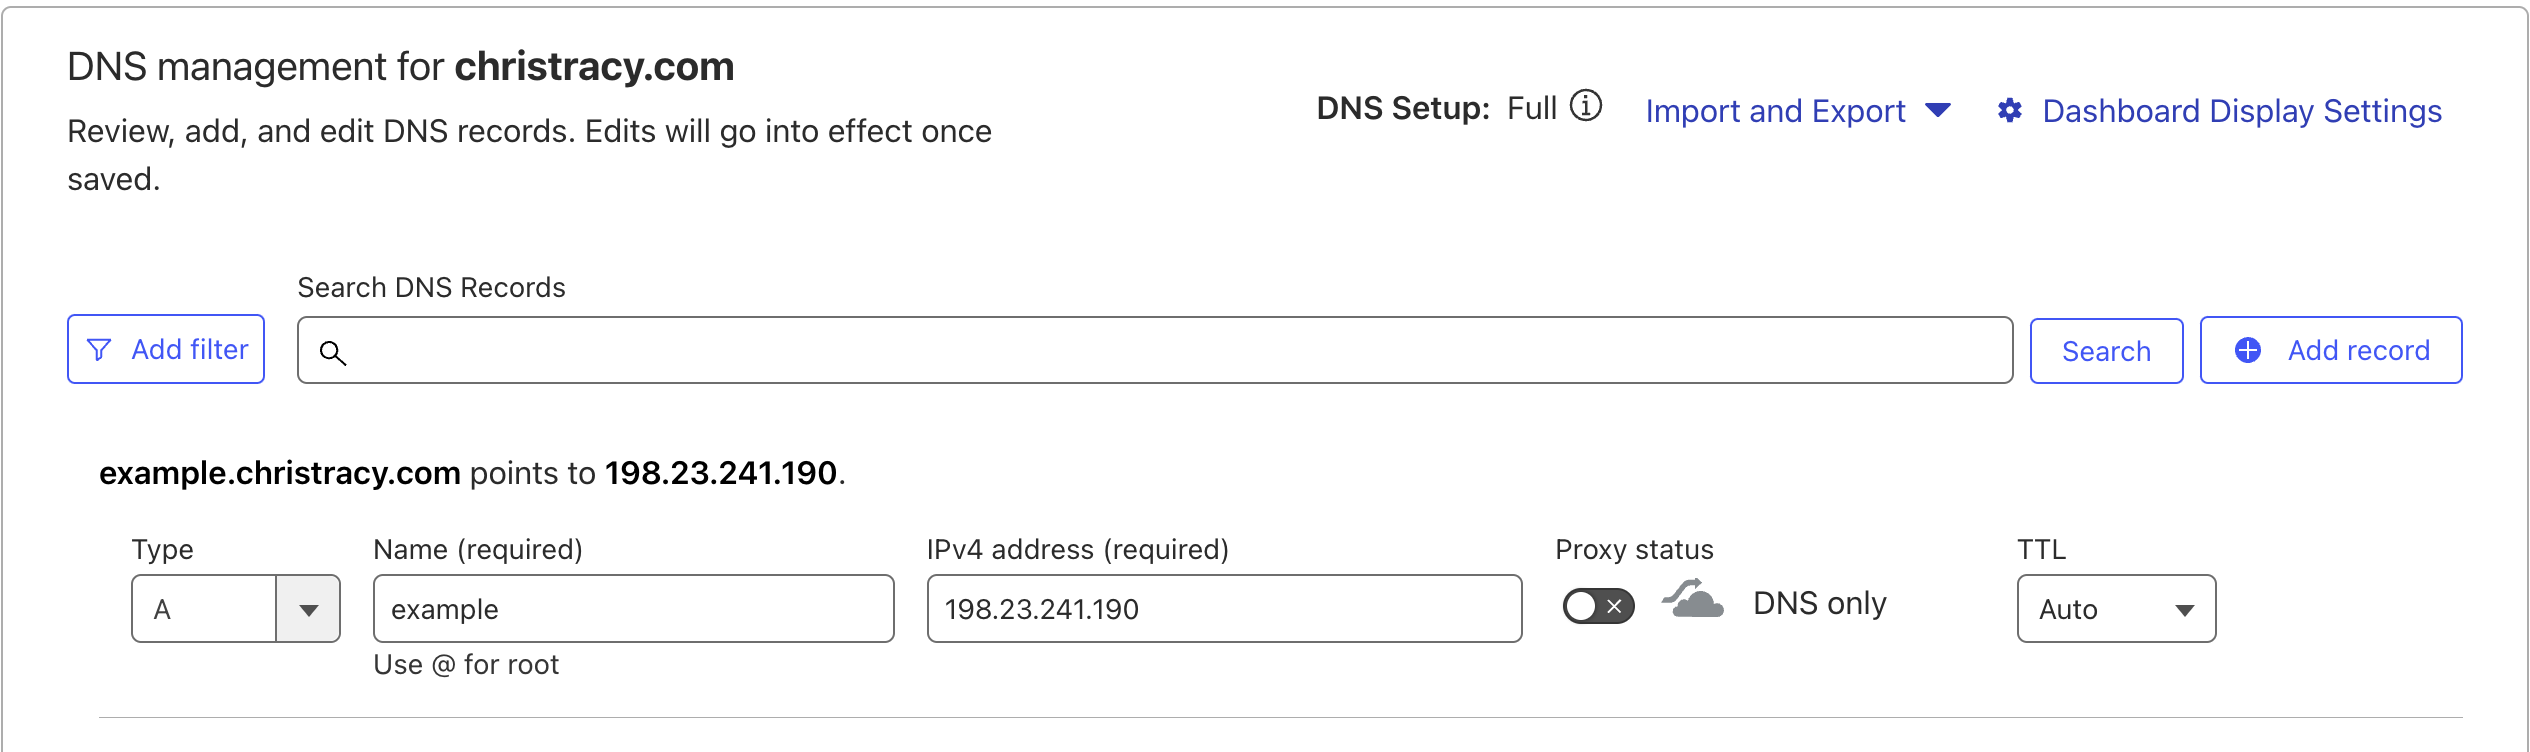
- Create a new A record for your desired domain and point it to the VPS public IP. I am using Cloudflare and the public IP of my Racknerds VPS but the process is the same for other providers.
Set Up a Caddy server
Install Docker and Docker Compose if you haven’t already. Refer to the Docker website for installation on your seleted OS.
- Create a Caddyfile on your VPS. Change the path to wherever you want this file to be on your host. Take note of this path as you will need to add it to your docker compose file in step 4.
1
 nano /path/on/host/caddy_caddyFile/Caddyfile
- Paste this into your Caddyfile. Be sure to update these to match your setup. example.christracy.com should be changed to match your DNS record. The ip/port should be changed to match your self hosted tailscale ip and the service that you are wanting to expose. My web server is hosted on port 80 but if you are wanting to expose something like home assistant that would be port 8123.
1
2
3
4
 # Example
 example.christracy.com {
     reverse_proxy 100.85.190.10:80
 }
Advanced Configuration: If you are using a Tailscale subnet router, you will want to use the machine’s default network IP instead of the tailscale IP. (ex:
reverse_proxy 192.168.1.10:80) Create a docker compose file with volumes:
1
2
3
4
5
6
7
8
9
10
11
12
13
14
15
16
17
 version: "3.7"

 services:
 caddy:
     image: caddy:latest
     container_name: caddy_public
     restart: unless-stopped
     cap_add:
     - NET_ADMIN
     ports:
     - "80:80"
     - "443:443"
     - "443:443/udp"
     volumes:
     - /path/on/host/caddy_data:/data
     - /path/on/host/caddy_config:/config
     - /path/on/host/caddy_caddyFile:/etc/caddy # if you changed this in the previous step you need to update it here.
- Run the following command to start your container.
1
 docker compose up -d
Test
You should now be able to access your domain securely (with a valid SSL certificate) in the browser. For this tutorial, I set up a simple Docker container. 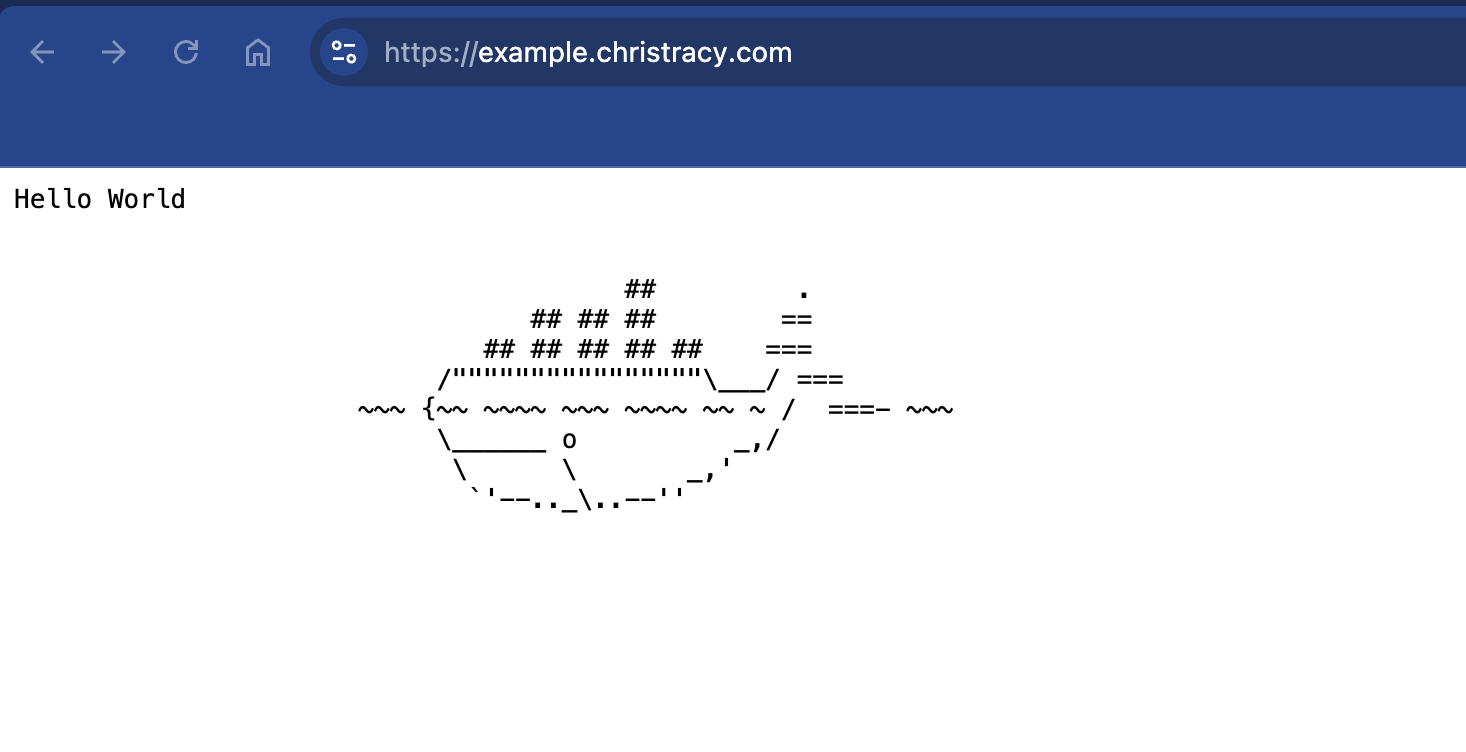
At this point you can add servers in different locations and make this vps a single entrypoint for your externally exposed services. Simply add a new DNS record and update your Caddyfile with the ip.
Optional Configuration
Consider using ACL rules in Tailscale to enhance the security of your devices. I have ACL rules to only allow the VPS to talk to the ports required on the self hosted machine. If the VPS is ever compromised the attacker will not be able to reach other ports on your network. Here is an example of an ACL rule:
1
2
3
4
5
6
7
  "acls": [
      {
          "action": "accept",
          "src":    ["100.85.190.5"],
          "dst":    ["100.85.190.10:80"],
      },
  ]
Check out my guide on Using GitHub Actions to deploy your Caddyfile. This allows you to retain version control along with automated deployments of your Caddyfile.